I’ve specialized in interior photography for fifteen years. Here are my top tips for those just starting out shooting interior photography.
Use a Pro Camera with a Full Frame Sensor
THE SENSOR
A larger sensor which will allow you to capture more light and detail. It should be a full-frame sensor because as we’ll learn soon interior photography should be shot with tilt shift lenses of 24mm and 17mm. If the camera is APS-C or micro four-thirds you’ll get a crop. So a 24mm lens becomes 48mm and 17mm becomes 34mm. These are not ideal focal lengths for interior photography.
MEGAPIXELS
A higher resolution camera will allow you to capture more detail in your images, which can be useful if you plan to print your photos at large sizes or crop them heavily in post-processing.
But in fifteen years of shooting interior photography, most of what I’ve shot is presented electronically on websites, social media, PDF, etc. The largest I’ve ever printed were double-page magazine spreads. which are around 16 inches. A 12-megapixel camera can produce an 18-inch print without pixelation.
If you’re on a tight budget I would recommend a used Canon 5D Mark II at 21 megapixels. You can buy one on Ebay for less than $400.
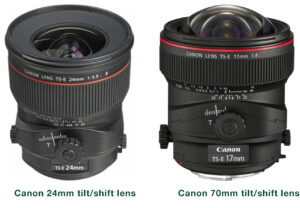
Use Tilt Shift Lenses
Don’t skimp on this. If you’re serious about shooting interiors, then a tilt-shift lens at 24mm and 17mm is a must.
When I started, I avoided tilt-shift lenses because of the expense and rationalized I could fix perspective distortion in Photoshop. As I got more serious about interior photography, I felt showing up on an architectural shoot without a tilt-shift lens was unprofessional, and honestly, it is.
Once I started using the them I wondered how I ever did without them. They not only eliminate perspective distortion but also give centimeters of control when composing the frame. And if you’re doing stitches they work brilliantly.
These lenses are expensive. The Canon 24mm tilt shift is $1,899 and the 17mm is $2,149. You can find them used on Ebay for lower. Just make sure you buy from a reputable dealer. There are 3rd party brands like Samyang and Rokinon that are cheaper and probably work pretty well however I’ve never seen a 3rd party version of the 17mm.
Lens purchases are investments and unlike cameras there isn’t a new version of the lens released every year. If you take care of them you’ll never have to replace them.
Tripods
I use a carbon fiber Benro Mach3 tripod. I pay more for the carbon fiber because I work in New York City and often use the subway to get to a job. The carbon fiber tripod is easier on my back but not necessary for interior photography. As long as your tripod can hold a DSLR, you’re fine.
What is necessary is a geared head for that tripod. With a geared head, I can fine-tune my compositions in a way I never could with pan/tilt or ball heads. I use the Manfrotto 405, and I absolutely love it.
Using tilt shift lenses with geared heads will give you the ultimate control for your compositions and interior photography is all about composition.
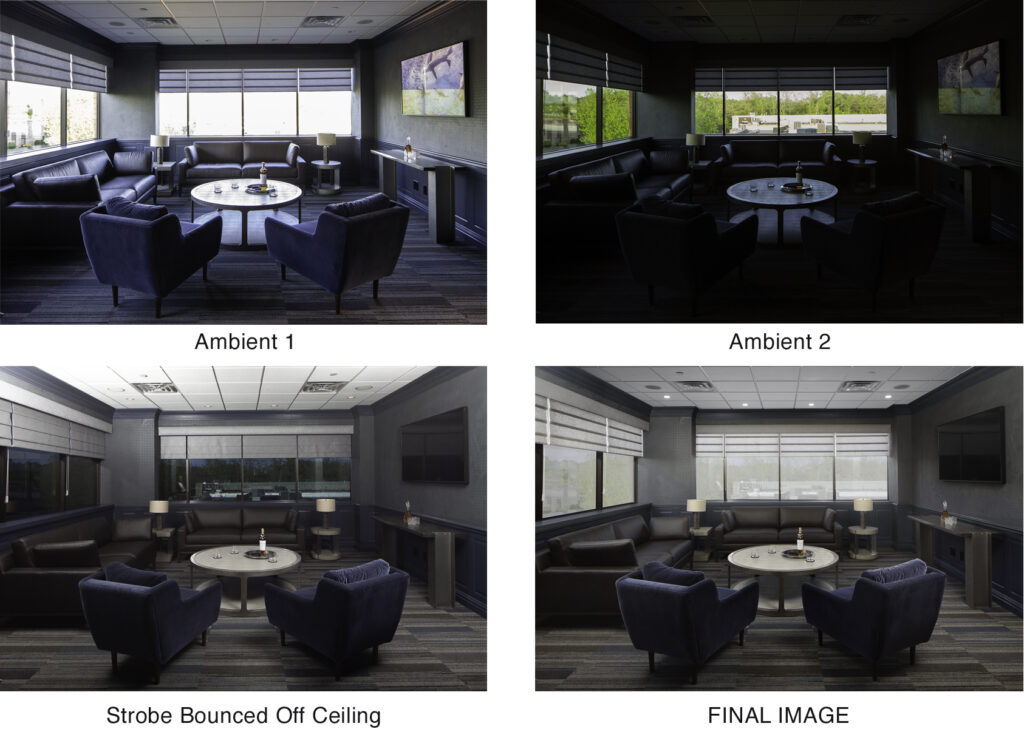
Lighting for Interior Photography
Before digital, shooting interior photography meant getting everything in camera. Everything not only had to be lit but the lights had to be hidden as to not appear in the photograph. A room that takes twenty minutes to shoot today could’ve taken a half a day or more back then.
The standard these days is combining multiple digital exposures in Photoshop and bringing them into one image. Some interior photographers do it with HDR in Photoshop or Lightroom. Personally, I prefer to do it by hand with layers in Photoshop. If you’re serious about interior photography don’t rely on HDR. Spend the time and learn your craft.
Some of us still use lighting and it’s amazing what you can do combining lighting with Photoshop.
To learn how to do this I recommend checking out Mike Kelly. I’m not sure if Mike invented this way of working, but his tutorials are where I learned it. You can find a lot of this stuff for free on YouTube but I still recommend Mike’s tutorials. They’re $300 which is a small investment that will pay big dividends for the rest of your career.
Be Great at Photoshop
If you want to succeed with interior photography you have to be as good at Photoshop as you are with the camera. This is non-negotiable. If you’re new to Photoshop find a tutorial that teaches the basics then watch Mike Kelly’s tutorials on how to apply it to shooting interiors.
Use a CamRanger
For interior photography, the back of the camera is not ideal for proofing. It’s acceptable for the initial composition but not so great for details. A CamRanger allows you to control most of the camera from your iPad wirelessly, get accurate focus with focus peaking, and, most importantly, provide a nice big image for checking details and showing your client your beautiful composition. They cost less than $300. Buy one.
Staging for Interior Photography
This will differ with each type of client. For interior design and real estate there’s usually some staging already done by the designer or a stager. That’s sometimes the case with architects but not always and I’ve rarely seen it shooting for construction companies.
Even if everything is looking beautiful you still may have to do some staging. It might be because there’s too much furniture and removing some of it will give you a less cluttered, more pleasing image. You might also be moving furniture because of the camera angle. A sofa and coffee table may line up perfectly in the room but from the camera’s perspective they may not.
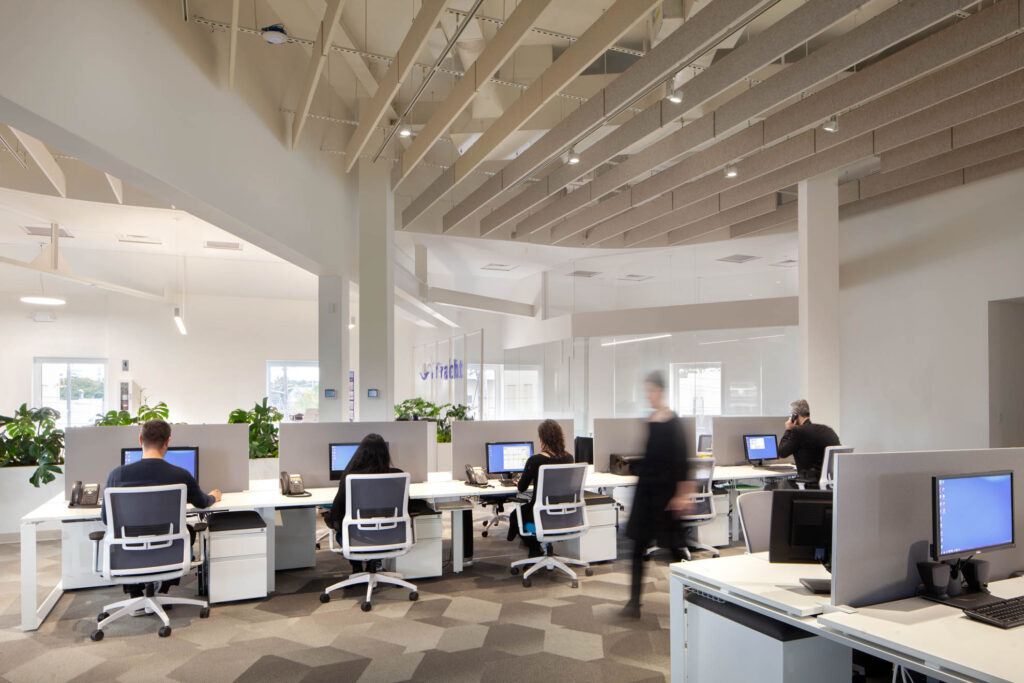
If you shoot offices as I do you might spend more time moving furniture, clearing desks and taping cables then taking pictures.
Respect the Space
Whether you’re shooting a home or a commercial space, leave the space the way you found it. It’s just the right and professional thing to do. Leaving a mess could reflect badly on your client if the owner of that space is your client’s client. I recommend, especially with offices, taking pictures of the space with your phone so when it’s time to put everything back the way you found it you’ll know where everything needs to go.
If you’re interested in working together call me for a free consultation 917-536-7277
Updated 1/3/23
